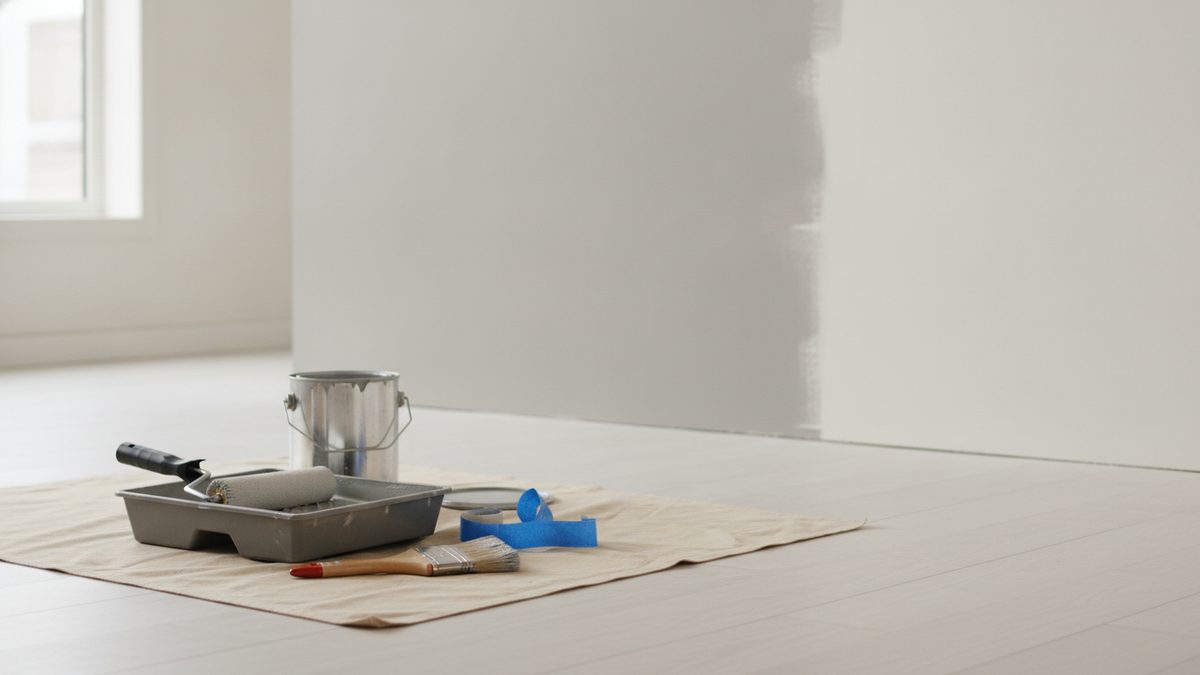
Painting a room is the rare home project that's genuinely beginner-friendly and makes a dramatic difference for not much money. It's also the project where amateurs and pros look most different, and the gap is almost entirely about prep, not skill with a brush.
Here's the honest version up front: the painting takes a few hours; the prep takes longer than you think and is the part everyone wants to skip. Don't. A pro spends maybe half the job taping, filling, and covering, and that's exactly why their walls look clean and yours might not. Do the boring bits properly and the rest is easy.
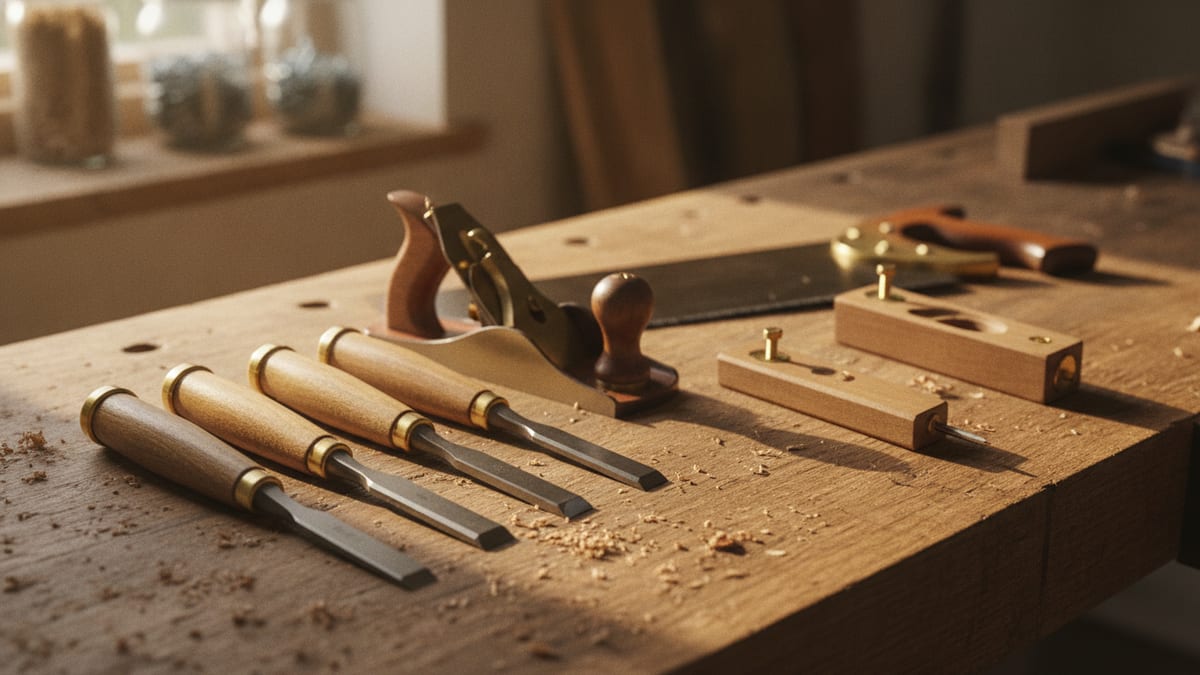
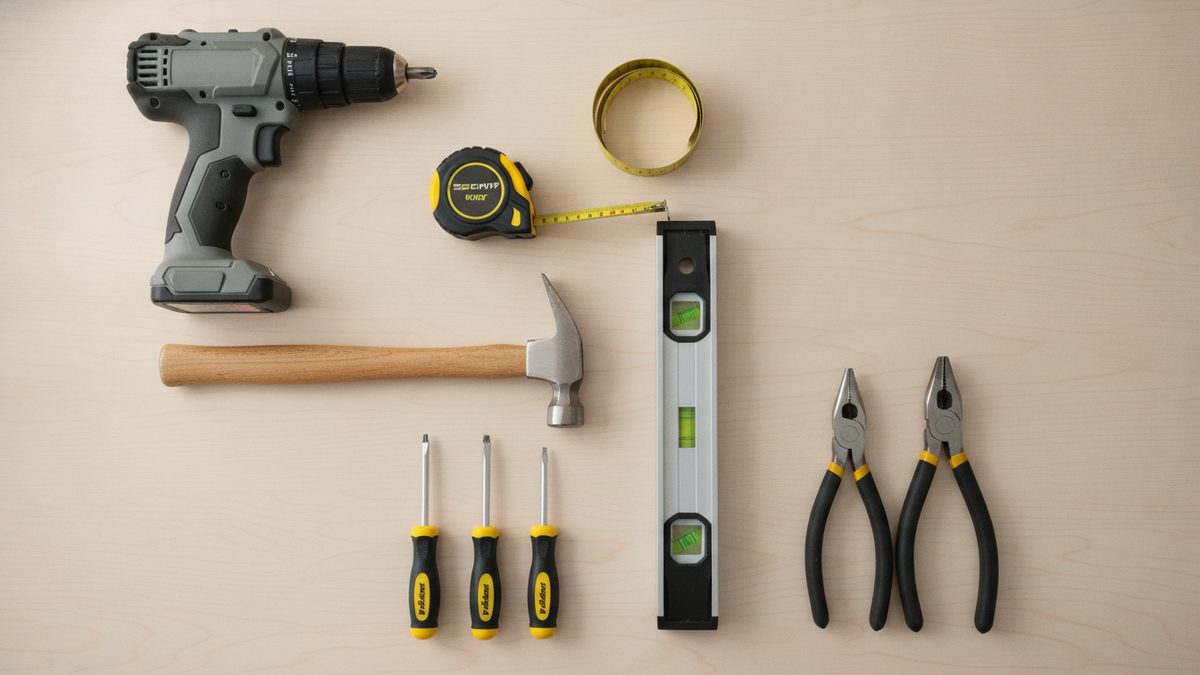
What you'll need
- Paint (and primer, or a paint-and-primer-in-one)
- A roller frame, roller covers, and a roller tray (plus a liner to save cleanup)
- A 2 to 2.5 inch angled brush for cutting in
- Painter's tape
- Drop cloths or plastic sheeting
- A filler/spackle and a putty knife for holes
- Sandpaper or a sanding sponge
- A damp cloth and a bit of mild cleaner
- A screwdriver (for outlet and switch covers)
Step 1: Prep the room and the walls
This is the step that separates a good result from a sloppy one.
- Clear and cover. Move furniture to the center and cover it, and lay drop cloths over the floor. Paint travels further than you expect.
- Take down hardware. Unscrew outlet and switch plates rather than taping around them. It's faster than it sounds and looks far cleaner. Tuck the screws inside the covers so you don't lose them.
- Fill and sand. Fill nail holes and dents with spackle, let it dry, then sand smooth. Lightly sand any glossy or rough patches so the new paint grips.
- Clean the walls. Wipe down dust, grease (especially in kitchens), and cobwebs with a damp cloth and a little mild cleaner. Paint doesn't stick to grime. Let the walls dry fully.
Step 2: Tape the edges
Run painter's tape along trim, baseboards, the ceiling line, and around window and door frames, anywhere you want a crisp edge. Press the tape down firmly with your finger or a putty knife so paint can't seep under it, which is the number one cause of fuzzy lines. For the cleanest edge, peel the tape off while the final coat is still slightly wet, not after it's fully dried and bonded over the tape.
Step 3: Prime (when you need to)
You don't always need a separate primer, but you do when:
- You're painting over a dark color (or going from dark to light).
- The wall is bare drywall, patched, or stained.
- You're covering a glossy surface or switching from oil-based to water-based paint.
For a basic repaint in a similar color on a sound wall, a quality paint-and-primer-in-one is fine. When in doubt, prime, it's cheaper than buying three coats of expensive color to hide what's underneath.
Step 4: Cut in, then roll
This is the actual painting, and the order matters. Always cut in first, then roll, working one wall (or one manageable section) at a time so the edges stay wet and blend together.
- Cut in means using your angled brush to paint a 2 to 3 inch band along all the edges the roller can't reach cleanly, corners, the ceiling line, around trim. Take your time; this is where neat work shows.
- Then roll the big flat areas. Load the roller evenly (don't drown it), and roll in a large "W" or "M" shape, then fill it in without lifting off, working the paint out evenly. This spreads it before you have a chance to leave thick stripes.
- Keep a wet edge. Always roll back into the area you just painted before it dries, so you don't get visible overlap lines.
The reason to cut in just ahead of rolling, rather than doing all the edges in the whole room first, is that a wet brushed edge blends invisibly into a wet rolled wall. A dried brushed edge can leave a faint frame around the room.
Step 5: Let it dry, then do a second coat
Almost every job needs two coats. One coat looks patchy and uneven once it dries, no matter how good the paint claims to be. Resist the urge to judge the color until the second coat is on.
Let the first coat dry as long as the paint can recommends before recoating, usually a few hours for water-based paint, but check the label, as humidity and temperature change everything. Rushing the second coat onto a tacky first coat is how you get peeling and roller marks. Then repeat the cut-in-then-roll process for coat two.
Step 6: Pull the tape and clean up
Peel the painter's tape back on itself at a 45-degree angle while the final coat is still just slightly wet, for the cleanest line. Then:
- Reattach outlet and switch covers once the paint is dry to the touch.
- Wash water-based paint out of brushes and rollers with warm soapy water until it runs clear, then reshape the bristles and let them dry. A well-cleaned brush lasts years.
- Leave windows cracked for ventilation and don't move furniture back tight against the walls until the paint has properly cured, which can take longer than it takes to dry to the touch.
The honest time and effort
For an average bedroom, expect prep to take a couple of hours (more if there's lots of filling and cleaning), then roughly two to four hours per coat including cutting in, plus drying time between coats. Realistically, a single room is a full day, or a relaxed weekend if you want to enjoy it rather than race it. Anyone who tells you a room is a "quick afternoon job" is skipping the prep, and you'll see it on the walls.
None of this is hard. It's just a sequence, and the discipline to do the unglamorous steps before the fun one. Get the prep right and your first room will look like you've done it before.